

In the world of DIY home décor, one trend is making a vibrant comeback—decoupage paper for furniture. Whether you’re a seasoned crafter or just discovering your creative side, this simple technique can completely transform outdated furniture into stunning statement pieces. It’s budget-friendly, beginner-accessible, and yields professional-looking results.
This guide will walk you through everything you need to know about using decoupage paper for furniture, from choosing the right materials to expert tips, trends, and frequently asked questions. Let’s dive into how you can elevate your interior design without breaking the bank.
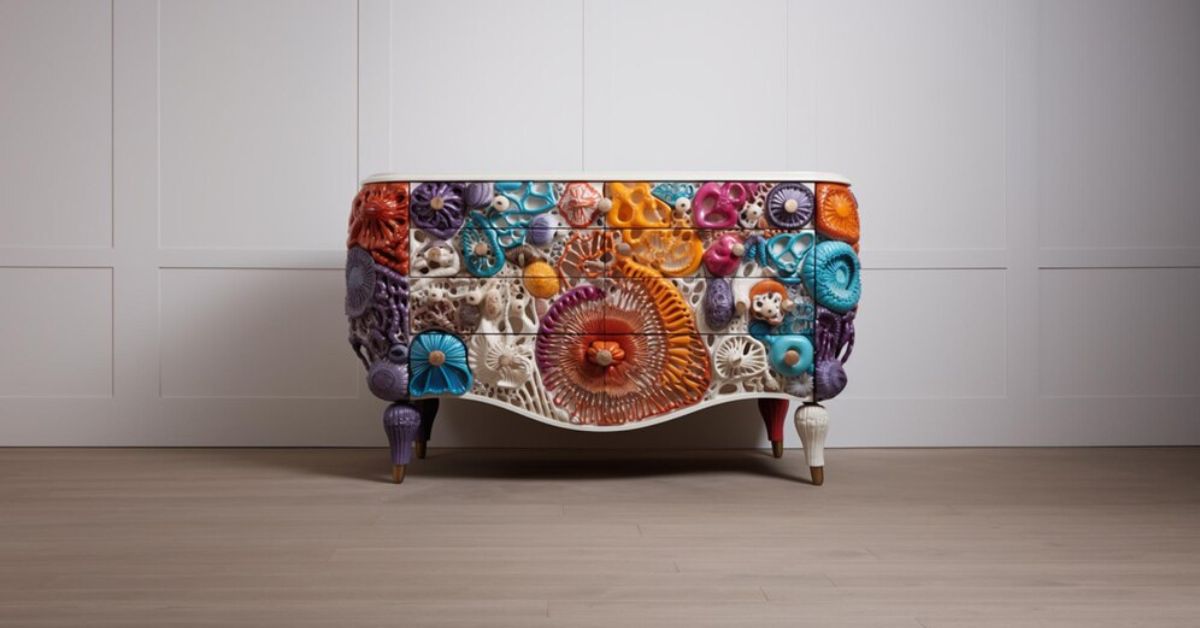
What Is Decoupage Paper for Furniture?
Decoupage paper for furniture refers to decorative paper used to embellish furniture surfaces. The paper is glued onto furniture using a decoupage medium (like Mod Podge or similar), creating a layered look that appears almost painted on. It can be used on wood, MDF, glass, metal, and even plastic surfaces.
You can find decoupage paper in a range of styles—vintage florals, modern abstracts, boho prints, or even custom prints. This technique is ideal for upcycling thrifted finds, giving new life to dressers, nightstands, coffee tables, and more.
Benefits of Using Decoupage Paper for Furniture
Here are some compelling reasons to embrace this creative technique:
1. Budget-Friendly Home Upgrade
Instead of buying new furniture, you can refresh what you already own using decoupage paper for furniture. It’s a cost-effective way to redesign a space.
2. Eco-Friendly Decorating
Upcycling old furniture reduces waste. Choosing biodegradable or recycled decoupage paper adds an extra layer of sustainability.
3. Unlimited Design Possibilities
From minimalist to maximalist, there’s a style for everyone. You can mix patterns or combine with paint for a unique, layered look.
4. Beginner-Friendly
No special training is needed—just a little patience and creativity.
Materials You’ll Need
Before starting your project, gather the following:
- Decoupage paper for furniture (size depends on the piece)
- Mod Podge or other decoupage medium
- Sandpaper (120–220 grit)
- Paintbrush or foam applicator
- Scissors or craft knife
- Sealer (optional but recommended)
- Squeegee or brayer (to remove bubbles)
Step-by-Step Guide to Applying Decoupage Paper for Furniture
Step 1: Prep the Surface
Clean and sand the furniture surface. Wipe away dust. If the surface has existing varnish or paint, sanding ensures better adhesion.
Step 2: Cut the Paper to Size
Cut the decoupage paper for furniture to fit the surface. Leave a slight overhang for trimming later.
Step 3: Apply the Adhesive
Use a brush to apply a thin, even layer of Mod Podge. Work in small sections for better control.
Step 4: Attach the Paper
Gently place the paper on the glued surface. Use a brayer or your hands to smooth out wrinkles and air bubbles. Work from the center outward.
Step 5: Let It Dry
Allow it to dry completely (usually 1–2 hours).
Step 6: Seal the Surface
Apply a top coat of Mod Podge or a polycrylic sealer for durability, especially for high-use furniture like tabletops or drawers.
Popular Furniture Pieces to Decoupage
Here are some common pieces that benefit greatly from this technique:
- Dressers: Add paper to drawer fronts for contrast.
- Side Tables: Perfect for a pop of color or pattern.
- Coffee Tables: Use a large sheet for a striking centerpiece.
- Cabinets: Try lining the interior for a hidden surprise.
- Chairs: Add detail to the seat or backrest panels.
Expert Tips for a Flawless Finish
- Test Before You Start: Always test a small piece to ensure compatibility.
- Thin Layers Only: Thick glue causes bubbles and wrinkles.
- Choose the Right Paper: Thicker decoupage paper for furniture reduces tearing.
- Avoid Overhandling: Once positioned, avoid moving the paper too much.
- Seal It Twice: For heavy-use furniture, two coats of sealer work best.
Trending Styles Using Decoupage Paper for Furniture
Looking for design inspiration? Here are current favorites:
- Botanical Prints: Nature-inspired designs are popular for calming interiors.
- Vintage Maps: Ideal for travel lovers and study rooms.
- French Floral Themes: Elegant and timeless for shabby chic lovers.
- Abstract Geometrics: Modern aesthetics for minimalist homes.
- Rustic Wood Textures: Gives a reclaimed wood look without the cost.
Where to Buy Decoupage Paper for Furniture
You can find high-quality options at:
- Etsy: Custom and handmade prints
- Amazon: Wide variety and quick shipping
- Craft Stores: Michaels, Hobby Lobby, Joann’s
- Specialty Sites: Sites like Dixie Belle, Roycycled Treasures, and Decoupage Queen
Maintenance Tips
Once you’ve transformed your furniture, keep it looking new with these tips:
- Clean gently with a damp cloth—avoid abrasive cleaners.
- Don’t expose to direct sunlight for prolonged periods to prevent fading.
- Reapply a sealing coat yearly if needed.
FAQs About Decoupage Paper for Furniture
What type of paper is best for furniture decoupage?
Look for decoupage-specific papers or rice paper. They’re designed for durability and easier application. Avoid regular printer paper—it tears easily and wrinkles more.
Can I decoupage on laminate furniture?
Yes, but make sure to sand the surface thoroughly and use a strong adhesive. Primer may help the glue adhere better.
How do I prevent bubbles when applying decoupage paper for furniture?
Use a brayer or soft cloth to smooth out the paper from the center to the edges. Apply thin layers of glue to prevent oversaturation.
Is sealing mandatory?
For decorative-only pieces, sealing isn’t required but is recommended. For high-traffic surfaces like tabletops or drawers, sealing ensures longevity and water resistance.
Can I combine decoupage with paint?
Absolutely! You can paint the furniture first and add decoupage paper for furniture to enhance design details. Just let the paint dry completely before applying the paper.
Final Thoughts
Whether you’re refreshing a thrift store find or giving your heirloom a new identity, using decoupage paper for furniture is a practical and stylish way to transform your living space. With endless designs, simple techniques, and minimal investment, this craft invites creativity into your home.
Remember, the key to successful decoupage lies in preparation, patience, and attention to detail. By following this guide, you’ll be well on your way to creating personalized, eye-catching pieces that make a house feel like home.
Ready to transform your next furniture project? Explore trending decoupage paper for furniture and give your home the custom touch it deserves.